You are using an out of date browser. It may not display this or other websites correctly.
You should upgrade or use an alternative browser.
You should upgrade or use an alternative browser.
Superjedi's RS Props SE for TI Wingman
- Thread starter superjedi
- Start date
superjedi
Sr Hunter
superjedi
Sr Hunter
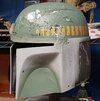
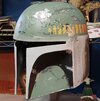
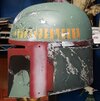
Killstripes! He's a dangerous one, this Boba Fett! 
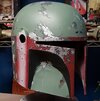
Everything was masked using tape to get the outlines, and then I used Humbrol Maskol to do the chips.
The stripes were first airbrushed with Archive-X acrylic SP Armour Yellow and then the back few stripes were toned with one of my Polly Scale oranges.
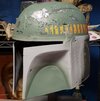
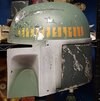
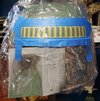
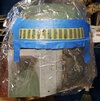
Everything was masked using tape to get the outlines, and then I used Humbrol Maskol to do the chips.
The stripes were first airbrushed with Archive-X acrylic SP Armour Yellow and then the back few stripes were toned with one of my Polly Scale oranges.


superjedi
Sr Hunter
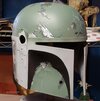
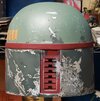
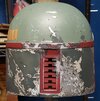
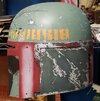
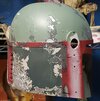
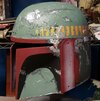
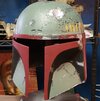
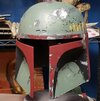
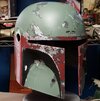
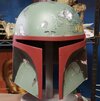
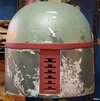
Red! Roja! Rot! Rouge! Aka! 
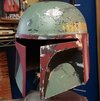
I love this stage. The red really ties the other colors together. I've been using Archive-X acrylic D&H Caboose Red for my last several helmets, and it's an outstanding reproduction of the vintage Floquil color.
This is a great place to stop work for the weekend. The red will have time to dry until tomorrow afternoon and then I'll begin the damage painting.


