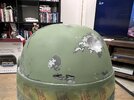
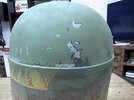
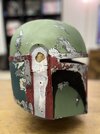
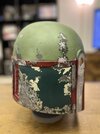
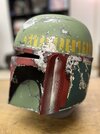
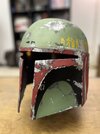
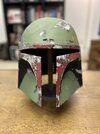
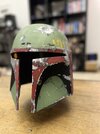
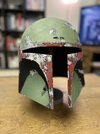
Ok, now the pictures issue seems to have been resolved I can post an update. Finally got around to weathering. Shading on the cheeks:
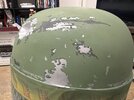
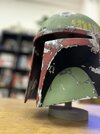
Shading on the top right corner of the rear RH panel:
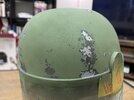
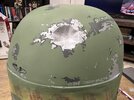
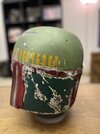
White smudges, you can also see some of the brown grease/dirt marks I’ve added on the back:
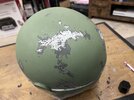
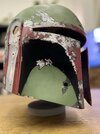
Dent scorching:
By the way - I’m not sure how most people tackle the dent scorching but I have a great tip how I did it.
Trace the dent, transfer it to some thick card - the type you get at the back of a hardback notepad is perfect - then cut out the dent shape.
Get a nice big chunk of blu-tack - big enough so that when you stick it in the dent, it sits level with the helmet.
Stick the cardboard dent cut out on to the blu-tack so that the dent is “plugged.”
Start airbrushing VERY carefully in the centre of the dent cut out. Gradually increase the paint and move outwards in bigger circles getting as close to the edge of the card as you dare. Scorch to taste.
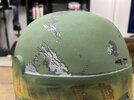
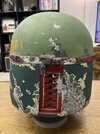
Few more grime marks, black paint, smudges, scratches e.t.c at the front:
Weathered borden:
Some more dirt and the diluted white under the killstripes:
Some additional scratching on the back and the “tick” on the real LH panel:
I’m sure I’ve missed a few spots, I’m sure it’s not 100% accurate but that’s as far as I’m prepared to go and it ticks all the marks on the CRL which is all that matters for me!
I’ve held off on installing the visor or the RF for now as I’m waiting on a wireless servo kit from NeoFett. I figure it’ll be an easier install without the visor so we’ll wait for now. In the meantime, I decided to crack on with my Sidewinder EE3 kit.
Here’s how we’re looking thus far:
A few parts have been “pinned in” wherever possible. I use wooden skewers or thick metal paper clips to create dowels and drill holes in the part and the corresponding fixing point - this helps with dry assembly and also gives an extra anchor point when glueing. The stock greeblie that covers the corner of the grip is one such “pinned part”
I haven’t finished the scope yet, in fact I think it might be on backwards currently but I’ve only attached one end as I still need to be able to get the scope rings off for painting. Attaching the end that is currently on there was a challenge. As you can see from the other end - there’s not much to glue to:
So I rolled a thin little ‘sausage’ of milliput, placed it around the rim of the scope tube and squished the scope end on to it. Once dry, I sanded it back, placed some super glue around the join and sanded again while it was still wet. I’ve done this a lot on blaster builds, it’s a great way to reinforce a join.
All the parts that are screwed on, as opposed to glued and are still removable - trigger guard, D-mount, scope mounts, flash tube e.t.c will be painted before assembly.
I’ve decided to abandon my plans for a movable hammer since there really is no need. Also I don’t see how I’d be able to engineer it to stay cocked/uncooked. It’d just be loose which I don’t like the idea of. The trigger has the classic spring mod so is “pullable” which isn’t necessary but is super satisfying!

