You are using an out of date browser. It may not display this or other websites correctly.
You should upgrade or use an alternative browser.
You should upgrade or use an alternative browser.
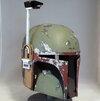
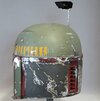
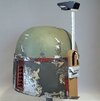
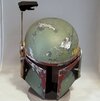
Superjedi's MCR-ESB for Adam
- Thread starter superjedi
- Start date
superjedi
Sr Hunter
Time to break out the lights. 
I don't normally install lights as part of my commissions, but I do it upon request provided the light kit is sent along with the helmet.
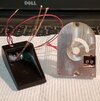
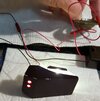
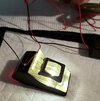
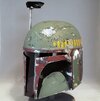
This build will include the new JC27 light kit designed for the Terminalfettler RF topper that he built for the ESB-MCR helmets.
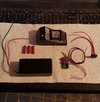
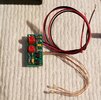
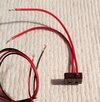
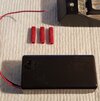
The kit includes everything you'll need except for a 9 volt battery. You get the controller board with 2 pre-wired red LEDs and 3 pre-wired white LEDs, a battery box with ON/OFF switch, and a microswitch to activate the lights when the RF stalk is lowered. He even includes 3 wire connectors. Groovy!


superjedi
Sr Hunter
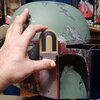
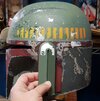
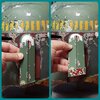
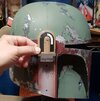
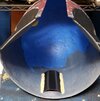
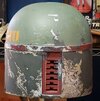
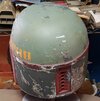
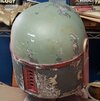
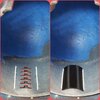
I'm trying a new method to mount the MQ-1 circuit board. I think this will be pretty similar to how the original was done.
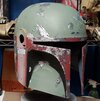
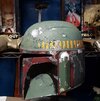
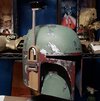
I started by using CA glue to secure two thin styrene tubes into the back of the helmet, one on either side of the keyslots. Then I measured and cut a rectangle of black styrene, adding a couple of bends to leave a gap so the circuit board will fit in.
In these pics, the black styrene isn't attached yet. It's held in place by the two thin tubes. Once I paint the outer face red, I'll attach the circuit board, glue the styrene in, and then use some Milliput to cover the tubes.

spicy fett
Active Hunter
Looks pretty amazing!!
superjedi
Sr Hunter
Similar threads
- Replies
- 66
- Views
- 14,789

