Strider
Hunter
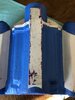
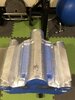
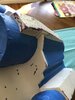
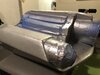
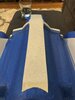
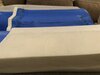
Awesome! That's really a good deed Luis is doing for the community. Is the jetpack made of fibreglas? I'm just wondering why it should be necessary to sand it, shouldn't it come perfectly out of the form?
Nice touch with the cold cast, maybe some metal polish could help bringing out the shine even more?
Nice touch with the cold cast, maybe some metal polish could help bringing out the shine even more?
")