ARMOR WEATHERING UPDATE:
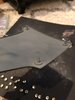
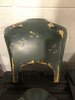
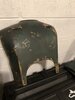
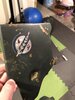
Hey gang! Tonight I weathered my back armor using a mix of acrylics. While doing so, I noticed that one of the “dents” was not aligned with the template from
RafalFett - I compared it to a few images and sure enough it was in the wrong spot.
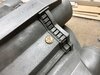
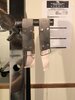
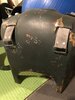
So I did a trick that I read about on here, and heated up the backside of the armor with a lighter, then used the round, backside (handle) of a screwdriver to carefully push on the armor to make the dent in the location that matches the damage. I then did the same process to push out the old dent and make it flush again. Not bad, and after weathering it’s barely noticeable!
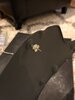
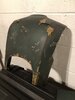
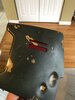
I also weathered my Jetpack straps. I wet them, then used a mix of pastels and acrylics on them. They are still wet in this image, so they’re darker than how they’ll end up once dry!
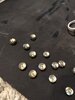
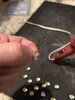
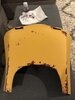
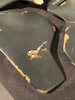
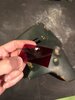
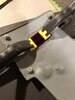
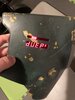
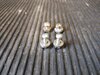
Lastly, a few items came with my armor from Fettpride, and I attached them. One is a metallic painted piece of plastic for the center diamond, and the other is a piece of aluminum for behind the 3 holes in the ab plate. I wanted these installed before I do my final weathering oversprays!


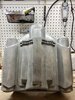
") Looks like Luis has finally figured out how to cast these darn jet packs
Looks like Luis has finally figured out how to cast these darn jet packs