Thank you for the kind words gents.
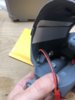
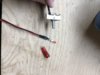
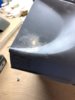
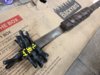
Last night I went to work on my LED light kit that I just received from
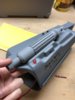
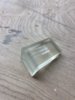
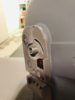
crumdum . I asked him to provide me with the typical ROTJ bulb, but with the slide switch from Jango Fett. My plan is to create a piece to go over the slide switch that looks similar to reference photos of the left guantlet! I'm pretty sure this will work too!
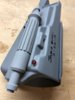
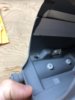
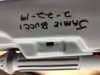
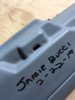
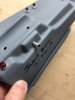
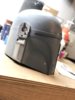
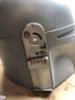
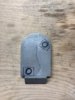
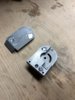
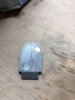
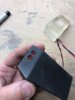
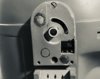
The gauntlets from Fettpride came with the LED housing permanently fastened into the gauntlet, and the kit from Crumdum had a new housing as well. I decided to heat up the glue in the kit, remove the LED bulb from housing that Crumdum provided, and will be installing it into the gauntlet with the slide switch. Kind of a workaround of sorts, as are most things with what I received from Chris. He finished and assembled everything for me, and primed it all so it's ready for paint, BUT I wish some stuff wasn't already assembled cause it's proving to be difficult to re-work some items.
I shall persevere (and post photos tonight)...