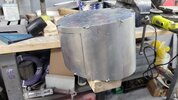
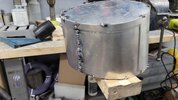
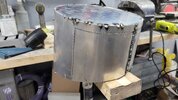
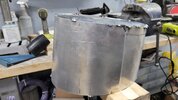
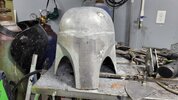
Slave1Pirate's Aluminum ROTJ Boba Fett Build PIC HEAVY

Thanks! I appreciate your kind words!
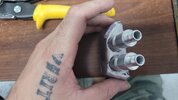
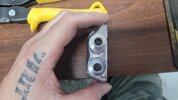
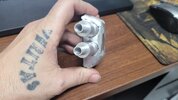
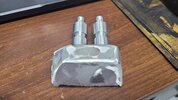
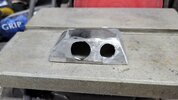
Today I wanted to work on the knee rocket housings and finally get to using these greebles I made last year! I was only able to work on the left knee today.
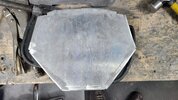
Here is the 2d left knee rocket housing.
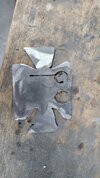
20220913_102212.jpg
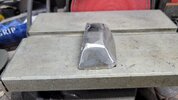
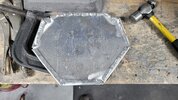
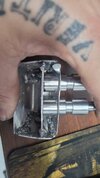
I bent and welded the housing together. I decided to install a wall inside to mount the greebles to. I wanted the option to remove, replace or repair the greebles in case of any unfortunate accidents.
20220913_145758.jpg20220913_145805.jpg20220913_145808.jpg20220913_154911.jpg20220913_154924.jpg20220913_154915.jpg
The decided to bolt them in. Bolting them in means I need a way to access the screws with a tool. It also means that they could potentially come loose so I needed to make sure I had access. I drilled holes through the knee so that after I weld the rocket housing on, I can get the Allen key into there to tighten them up.
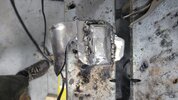
20220913_160943.jpg
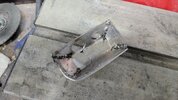
Onto blending!
20220913_162924.jpg
20220913_162936.jpg
20220913_162936.jpg
20220913_162940.jpg
20220913_162952.jpg

That's all I could get done. A little more welding and blending to do and that portion should be complete.
 
Last edited:
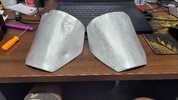
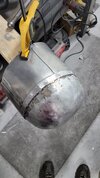
Today I worked on the 2nd pauldron. I got it hemed, welded and shaped. I took the 1st pauldron and made it the right side by putting the dents in it. The pair are in the last photo.
 

Attachments

  • 20220915_161153.jpg
    20220915_161153.jpg
    2.8 MB · Views: 112
  • 20220915_134205.jpg
    20220915_134205.jpg
    2.7 MB · Views: 123
  • 20220915_134159.jpg
    20220915_134159.jpg
    2.7 MB · Views: 115
  • 20220915_134152.jpg
    20220915_134152.jpg
    2.4 MB · Views: 109
  • 20220915_133700.jpg
    20220915_133700.jpg
    1.3 MB · Views: 116
  • 20220915_133743.jpg
    20220915_133743.jpg
    2.5 MB · Views: 114
  • 20220915_133738.jpg
    20220915_133738.jpg
    2.9 MB · Views: 106
  • 20220915_120750.jpg
    20220915_120750.jpg
    1.3 MB · Views: 121
I forgot to weigh the armor for you all. I'll try to do so tomorrow.

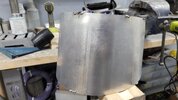
Today I began shaping the NEW helmet. I feel really good about this one so far. I really took my time slowly bringing it around.
20220919_123133.jpg
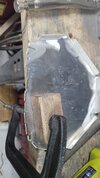
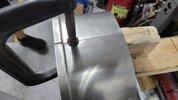
I clamped it together on a piece of 2x4 so I could weld the seam together. This will be ground down and blended and eventually cut out for the key slot plate at the rear.
20220919_124233.jpg
Here is after I welded it together.

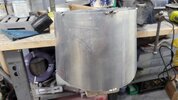
I then began shaping the helmet to the aluminum template so the shape is correct where the dome meets the face wrap.
20220919_151053.jpg20220919_151057.jpg
Once I got it in place, I tack welded it to keep it there.
20220919_163153.jpg20220919_163157.jpg20220919_163203.jpg20220919_163207.jpg20220919_163211.jpg20220919_163215.jpg20220919_163234.jpg
I also fitted the lower aluminum template to ensure the lower portion retains its shape.
20220919_163222.jpg
All in all I'm happy with the results so far. It's definitely that wide squatty shape that the first one didn't have. My plan is to heat up the aluminum around the helmet to allow it to accept the shape that the 2 templates are forcing it to be in. Hopefully this plan works. The top and bottom templates will be removed after this and then it's onto the dome and cutting out the t visor and cheeks.
 
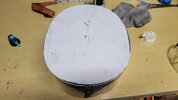
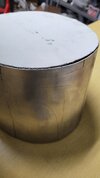
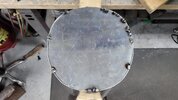
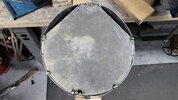
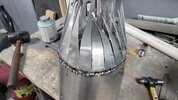
So today was a very rough day for me with this helmet. I began working on the dome. I rolled it and welded it into a circle and began the shaping process.
20220920_162527.jpg20220920_162530.jpg20220920_162535.jpg20220921_092246.jpg
I started welding it into place working my way around and taking my time.
20220921_094738.jpg
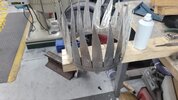
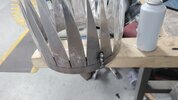
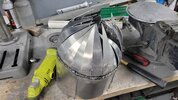
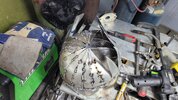
Once complete, I began bending the fingers in to form the dome. At this point I noticed something off. I went back to the drawings and realized what I had done. I welded the dome on backwards. I was so depressed and struggled to find a solution. At 1st I thought I would just beat it I to submission and weld the crap out of it. Eventually I arrived at "no, it will never be right", so I decided to cut and grind the dome out of it in hopes that I could still salvage the facial portion that I had worked so hard to achieve the shape of.
20220921_110908.jpg20220921_112158.jpg
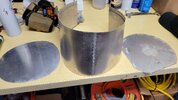
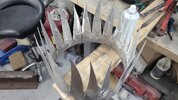
After hours of toiling over the helmet, I had finally removed every last piece of the old dome with minor damages the the shape of the bucket. I quickly cut a new dome out of a different type of aluminum that I had laying around and began the work over again. This different type of aluminum argued with me as I attempted to weld it to the face portion.
20220921_170631.jpg20220921_170635.jpg20220921_173132.jpg
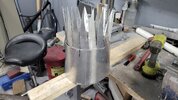
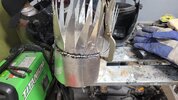
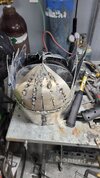
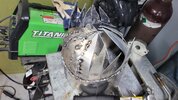
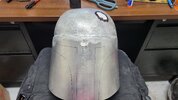
Alternating back and forth from one side to another, bending and welding the fingers to one another. The "correct" shape began to emerge as I moved along and I began to feel much better. The very center is not welded yet because they are very thin and tend to melt easily so most likely I will need to make a patch for the center on the inside. Once all fingers were tacked together, I removed the forms inside the helmet and made some adjustments. Here are the results from today's struggle. Tomorrow should yield so good stuff as I finish up.
20220921_175731.jpg
20220921_175735.jpg

20220921_175741.jpg
20220921_175744.jpg
20220921_175751.jpg
20220921_175755.jpg
20220921_175759.jpg
20220921_175802.jpg
20220921_175811.jpg
20220921_175820.jpg
 
So today I did a little welding and some grinding and some touch ups to a few pieces. I made a few adjustments and drilled holes for mounting the cod piece and kidney plate.
View attachment 228644View attachment 228645
When I got home I donned on the jumpsuit and mocked up the parts I had to double check fitment. Wifey helped me suit up. Please give me your honest opinions! Does anything catch your eye that needs fixing? I am aware that I need to bend the collar down a wee bit.
View attachment 228652View attachment 228651View attachment 228650View attachment 228649View attachment 228646View attachment 228647
The kidney plate requires adjustment as it is too loose.
View attachment 228648
Excellent work! My only critique would be the back plate looks like it pokes out a little too much around the shoulder blade area. Here is a screen capture where it shows it’s a little more form fitting. Not sure how hard it would be to correct.

CD8758FA-EFC7-4F5C-9F6C-95A9310A709F.jpeg
 
Excellent work! My only critique would be the back plate looks like it pokes out a little too much around the shoulder blade area. Here is a screen capture where it shows it’s a little more form fitting. Not sure how hard it would be to correct.

View attachment 229307
I caught this the very night I took those photos and have been working on this since. Everyday I make an adjustment and fit it and adjust. I will repost with the corrections once it's perfect. Thanks for pointing out!
 
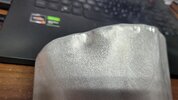
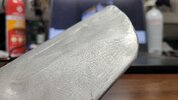
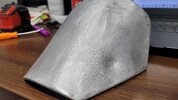
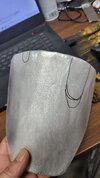
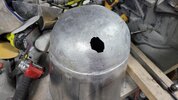
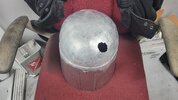
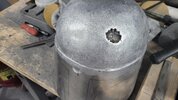
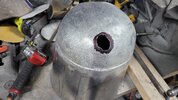
I have been quiet.....but busy. I had run out of the 14 gauge aluminum that I've been using so I used a lighter gauge I had lying around for the dome in the previous post. This was a struggle. Every weld created new holes, warped the dome and fought me every step of the way. My goal is to NOT use any filler but it seems I have gotten it to the point of pinhole filling and I'm fine with that. Here I begin shaping the ridge around where the dome meets the face wrap.
20220926_123323.jpg20220926_123327.jpg
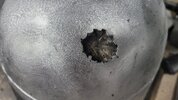
Here begins the scary journey of forming the dent.
20220926_154720.jpg20220926_154725.jpg20220926_160446.jpg20220926_160530.jpg20220927_081057.jpg
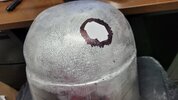
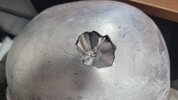
This dent was not done like all my other armor pieces due to its shape and style. I cut put the hole and made the dent separately.
20220927_100149.jpg20220927_100311.jpg
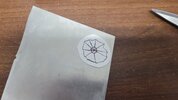
I cut out my template and began making uneven bends with the press break. Here it is fitted into place.
20220927_101221.jpg
And welded,
20220927_102714.jpg20220927_102717.jpg
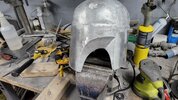
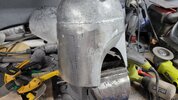
And here is the final cleaned up and sanded. What do ya'll think?
20220927_112812.jpg
20220927_112815.jpg
 
Hey everyone! So besides a few tree limbs we had no damage from hurricane Ian although it got pretty nasty, we were lucky. We never lost power but it flickered constantly and that meant no internet. My only wish being trapped in the house during a hurricane was to be able to work on boba. We ended up playing highstakes Sabacc with the kids! We cleaned up the front yard and such and now the wife and I are here at the shop and we have some impressive updates on the helmet! Stay tuned!
 
Hey everyone! So besides a few tree limbs we had no damage from hurricane Ian although it got pretty nasty, we were lucky. We never lost power but it flickered constantly and that meant no internet. My only wish being trapped in the house during a hurricane was to be able to work on boba. We ended up playing highstakes Sabacc with the kids! We cleaned up the front yard and such and now the wife and I are here at the shop and we have some impressive updates on the helmet! Stay tuned!
Glad you're ok man. My in laws live in St. Pete. They came to stay with us and are headed back now. Keep up the good work. Looks awesome!
 
This thread is more than 7 months old.

Your message may be considered spam for the following reasons:

  1. This thread hasn't been active in some time. A new post in this thread might not contribute constructively to this discussion after so long.
If you wish to reply despite these issues, check the box below before replying.
Be aware that malicious compliance may result in more severe penalties.
Back
Top