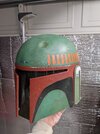
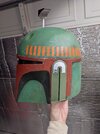
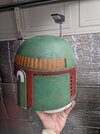
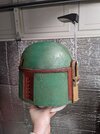
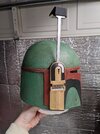
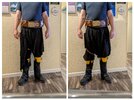
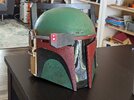
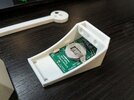
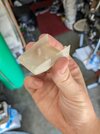
Well quite a lot has happened in the last month! Well more realistically a lot has happened just in the past week. I'm very much a procrastinator but I do feel myself kind of get "in the zone" when a deadline is fast approaching. I set the deadline for myself for today so I could attend SacAnime for the first time. Needless to say I felt good enough about the completion of my costume to make it out there and had a blast!
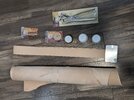
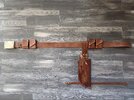
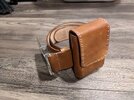
We'll pick things back up where we left off with the belt. After adding a finish coat and burnishing the edges, I glued the belt around the buckle and stitched it for good measure. My first time stitching leather and I found it very enjoyable. I think this will be a lasting hobby. I also added a belt loop which I didn't stain enough but it's hardly noticeable.
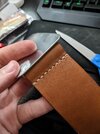
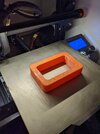
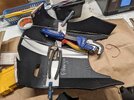
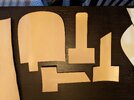
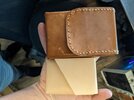
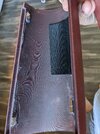
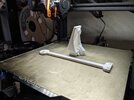
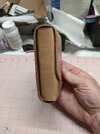
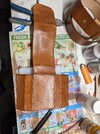
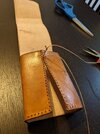
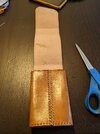
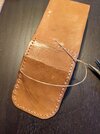
I then created a pattern for the pouch and cut one out as a test run. Using my previously printed form, I wet the leather and formed the pouch. Worked perfectly! Took about a day to dry and then I unfolded the pouch, stained it, burnished the edges, and punched holes for stitching. I decided to stitch the back together and I can see why others prefer glue here. Still a thoroughly enjoyable process though. I stitched the flap to the back to create the belt loop and continued that around the front of the flap. All in all the pouch came out great! I think for the next ones though I'll reduce the size slightly and form it a little looser so it's not quite as boxy. I went with the measurements listed on the Bounty Hunters Guild CRLs but I think since I used a 2" belt I'll have to reduce the size of the pouches so it looks proportionate.

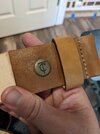
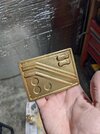
To finish off the belt I modeled and printed a Loxx connector and employed my wife's help to mix up a nice bronze color for it. I also included my maker's mark on the inside as a nice little bit of personalization. Then came the ongoing saga of the belt buckle. It's been quite the journey with this piece. I modeled and printed it in resin, but there weren't enough supports so it got a little droopy in the middle. I went back and tweaked the model and reprinted it a total of 4 times. Despite my best efforts, none of the buckles came out unwarped and I resorted to printing it on my FDM machine. I didn't want to do this in the first place so I could cut down on post-processing but it was really getting ridiculous. I tried resin smoothing for the first time on this and I'm not sure if it saved me time or not since the weather wasn't cooperative and the resin took a full 24hrs to cure. Anyway I managed to sand it to "good enough" standards then lathered on a few heavy layers of gold. I'm relatively happy with it but still plan to redo it, so I used hot glue to temporarily attach it to the buckle.

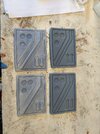
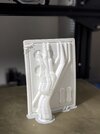
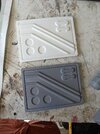
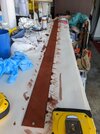
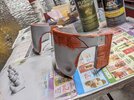
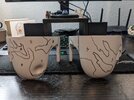
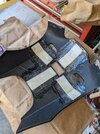
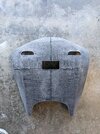
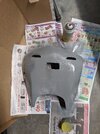
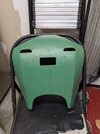
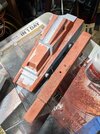
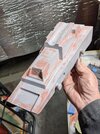
Next, I finally finished the backplate. It took multiple coats of filler primer, regular primer, and spot fill putty but I'm happy with it. There's not much reference for the texturing so I did some educated guessing with Bondo stippling and then painted it in the usual way.
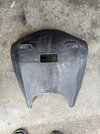
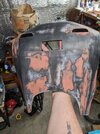
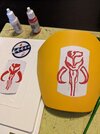
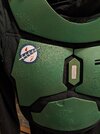
Wanting to be extra (and having purchased the wrong kind of blue vinyl), I hand painted the chest and shoulder emblem. I had my previously-used vinyl stickers as reference. This took a while but was really worth it in my opinion. Very happy with how these look.
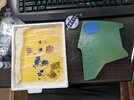
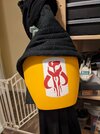
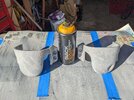
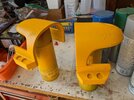
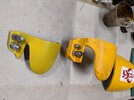
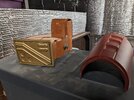
To finish off the knees I also resin-smoothed the knee darts, sprayed them black, then used Rub-n-buff for a nice metallic finish. I used E6000 to glue them to the knees. Very happy with these but they will soon be replaced by much more screen-accurate ones I've modeled. You can see one here next to one of the originals. Much better shape and much better yellow.
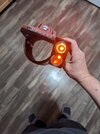
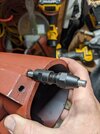
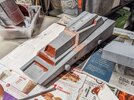
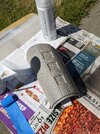
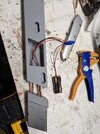
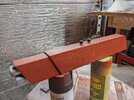
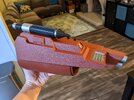
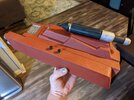
Then the final remaining task was to finish off the vambraces. The right had been pretty much finished for months but the left was still in a raw 3d printed state. I got to work sanding, spraying, sanding, filling, etc. until I finally had something I was happy to coat in paint. I also installed LEDs which I will wire to one of the switches at a later date. The rocket isn't fully painted, still need to paint the end a bronze/gold. The right vambrace needed a few details and pieces glued on which went pretty quickly.
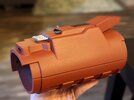
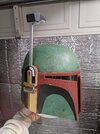
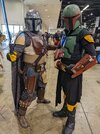
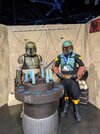
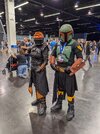
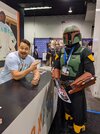
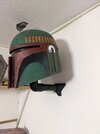
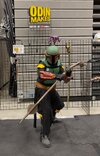
And really cutting it to the wire, I weathered everything this morning, a few hours before heading out to the con. Met some truly awesome people, especially this guy in the BoBF costume.
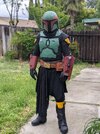

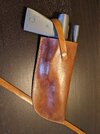
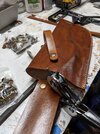
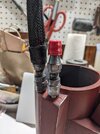
All in all I'm very pleased with where the costume is at. I'm at a point now where I look at a picture of myself and see less "that's me in a costume" and more "that's Boba Fett." Still to do is finish the belt, add the hoses from the right vambrace, get the LEDs hooked up, and finish my blaster pistol. Down the road I'm planning to model and print an EE-3 and make a wooden stock for it, should be fun.
