mjwierzb
Hunter
Hey everyone! I decided that I’ve enjoyed the process so much of making a Boba Fett costume that I am going to do another set. I’m going to try and share my build as best as I can as there will be a lot of adjustments made and new things added with my previous kit.
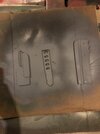
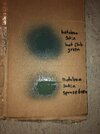
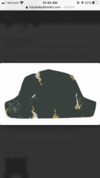
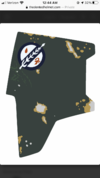
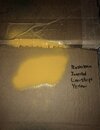
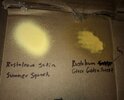
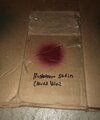
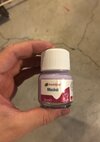
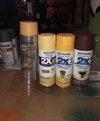
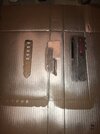
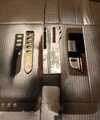
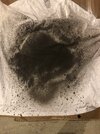
First couple things I’ve gotten done today; 1.) sand and prime 3/4 shin tools (the jet pack adjustment tool is already done as it’s just silver and was completed from previous build). 2.) green paint selection; I think I am going with rustoleum satin spruce green and top that with rustoleum satin hunt club green. 3.) ordered a new armor kit from MinuteFett!
First couple things I’ve gotten done today; 1.) sand and prime 3/4 shin tools (the jet pack adjustment tool is already done as it’s just silver and was completed from previous build). 2.) green paint selection; I think I am going with rustoleum satin spruce green and top that with rustoleum satin hunt club green. 3.) ordered a new armor kit from MinuteFett!
Attachments
Last edited:
")


")