nitro28
New Hunter
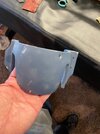
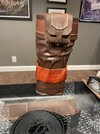
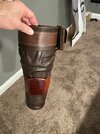
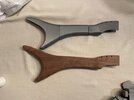
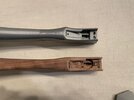
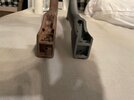
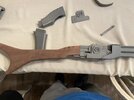
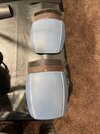
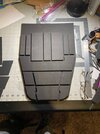
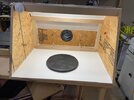
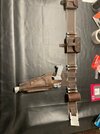
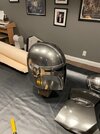
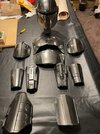
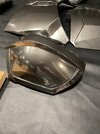
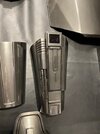
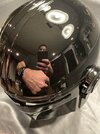
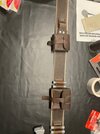
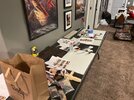
Hello everyone, I am new to this forum. This will be a thread about my Mandalorian Season 2 build. I have always been a maker and I fondly remember making my first Predator costume from scratch when I was a kid. I bought a 3d printer this summer when I was bored at home with all that is going on. After seeing some of the files that are available, I decided to print a few star wars pieces, one of which was Mando's helmet. I have always been pretty good at finish work and painting so seeing what I could do with this new 3D printer got me super stoked about trying another full costume build which I hadn't done since I was a kid. I am very meticulous and I want to both strive for screen accuracy, but also try to make every part of this costume myself. So with that being said, I am sure some parts of the costume will not be perfect and I am ok with that. As I started to print the armor I realized that there was a pretty big variance in the quality of the STL files. I started with free files, then went on to some from Galactic armory only to realize that they were not very screen accurate. I finally ended up at GreatApe on etsy which is what I am sure most of you are using. I probably wasted about 10 rolls of filament on pieces I didn't like, but it did give me the chance to practice some of my finishing techniques at least. I started the build in Mid November, but really got serious about it over Christmas. I enjoy learning new skills and I also enjoy buying new tools. For this project, I updated my airbrush to a Grex unit with a spray nozzle, bought a leather sewing machine and a bunch of leather working tools, I made a paint booth and have considered adding a resin printer for details like the bottom of the grav charges, which appear to be transparent. Since I am going for screen accuracy, I picked up 8oz of the Alumaluster paint. This was a perfect amount because it allowed me to paint and repaint the whole suit of armor 2-3 times. I really like that paint. Here are some progress pics so far. I just finished the armor. My basic process was print, sand with 120/220, spot puddy sand with 320/400, filler primer wet sand, 3-6 coats of Alclad gloss black base then alternating coats of alumaluster and 2k Clear. This seemed to work well for me. Right now I am working on constructing the belt and bandolier. Completely new to leather work so its been interesting, but seems to be going ok so far. I am also in the process of finishing the right shin, knee and hip plates. For the suit, I am using the season 2 suit from Sky costumes. That is one part I didn't want to try to make!
Here are some pictures of my progress. The one part that really intimidates me is figuring out that left shin leather piece so any advice on that would be great!
-James
Here are some pictures of my progress. The one part that really intimidates me is figuring out that left shin leather piece so any advice on that would be great!
-James
Attachments
-
 IMG_0126.jpg83 KB · Views: 429
 -
 IMG_0343.jpg57.4 KB · Views: 457
 -
 IMG_0314.jpg55.6 KB · Views: 493
 -
 IMG_0313.jpg72 KB · Views: 474
 -
 IMG_0312.jpg77.2 KB · Views: 455
 -
 IMG_0311.jpg63.2 KB · Views: 440
 -
 IMG_0294.jpg62 KB · Views: 436
 -
 IMG_0344.jpg63.5 KB · Views: 410
 -
 IMG_0345.jpg168.8 KB · Views: 411