ShortFuse
I may be able to assist with the visual on this...
View attachment 238260
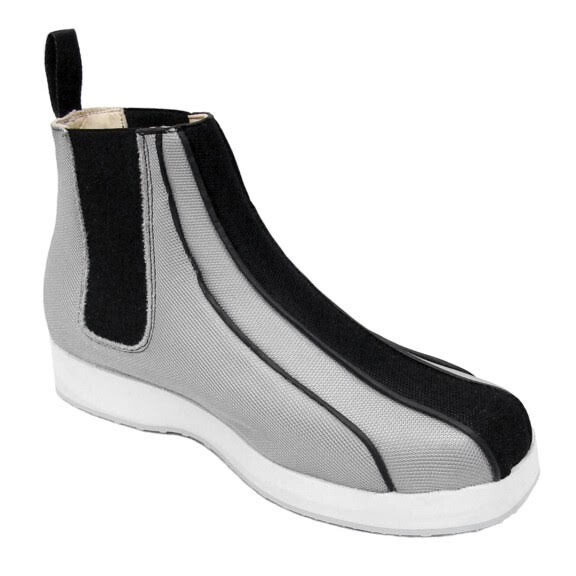
So this is what I have, which is Imperial Boots (
Now known as Keep Trooping) Metal Toe Spikes. They actually came with my Fett Boots I got from them - sadly, they no longer offer Fett stuff. But you'll notice that spike that faces inward that I've outlined with a
RED circle. What Shortfuse, I believe is saying, is that he epoxied a thumbtack on the back side of his toe spikes like this. The idea is so that this inward facing spike is to go into the sole of the boot. This is so that the toe spikes do not shift up or down on the sole while moving.
For me, I also reinforced the metal toe spikes and epoxied the metal bar directly onto the sole too.
-Iron