LeClubFett
New Hunter
I have been lurking this site/forum on and off for years.
Firstly, i'd like to thank all the wonderful contributors of templates and guides, and all those great tutorial threads without which i'd bet alot of people wouldn't ever be able to get a start on a scratch build without doing a hell of a lot of research first. So thanks.
This is my first scratch build and i'm building 2 sets, one for me and one for my son. This has advantages in that i get to practice things and hopefully get at least one right and in other ways if i
make one of something i can then cast a second, although he's twelve so that will only work on some parts.
As much as I can I am going to build everything, there's a few things that may be beyond me but as noted with all the epic tutorials on this site and others i'm hoping to build most of it. I may also be trying a few things ..just to see, hence the title of this thread. It may not all work, but, if it doesn't then the failure may help someone else or give someone else an idea and lead to further refinement.
So, to the builds, the adult build will be a ROTJ and the boy build will be a SW:Battlefront build.
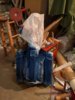
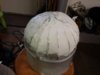
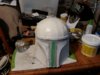
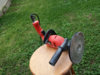
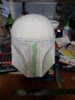
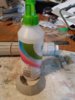
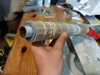
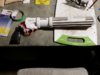
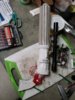
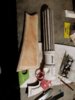
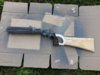
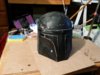
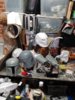
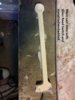
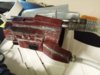
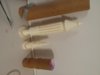
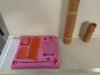
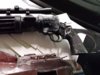
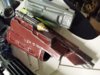
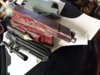
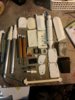
Like most people i started with the helmet. This was a challenge right off the mark, i couldn't find any local 2mm cardboard... so I used 3mm and this was tough. The 3mm is incredibly hard to manage, but, I got there. As we've all seen builds like these before i'll just throw a few photos in rather than step by step....(edit, i cleaned up alot of the photos out, they needed resizing..and the below is my new start point)

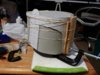
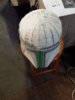
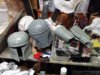
and this one was done in 2mm...wow, so much easier...anyway, this one will be better and i plan on
casting it and making 2 resin ones.
Thanks for your time, to be continued")
Firstly, i'd like to thank all the wonderful contributors of templates and guides, and all those great tutorial threads without which i'd bet alot of people wouldn't ever be able to get a start on a scratch build without doing a hell of a lot of research first. So thanks.
This is my first scratch build and i'm building 2 sets, one for me and one for my son. This has advantages in that i get to practice things and hopefully get at least one right and in other ways if i
make one of something i can then cast a second, although he's twelve so that will only work on some parts.
As much as I can I am going to build everything, there's a few things that may be beyond me but as noted with all the epic tutorials on this site and others i'm hoping to build most of it. I may also be trying a few things ..just to see, hence the title of this thread. It may not all work, but, if it doesn't then the failure may help someone else or give someone else an idea and lead to further refinement.
So, to the builds, the adult build will be a ROTJ and the boy build will be a SW:Battlefront build.
Like most people i started with the helmet. This was a challenge right off the mark, i couldn't find any local 2mm cardboard... so I used 3mm and this was tough. The 3mm is incredibly hard to manage, but, I got there. As we've all seen builds like these before i'll just throw a few photos in rather than step by step....(edit, i cleaned up alot of the photos out, they needed resizing..and the below is my new start point)
and this one was done in 2mm...wow, so much easier...anyway, this one will be better and i plan on
casting it and making 2 resin ones.
Thanks for your time, to be continued
Attachments
Last edited by a moderator:

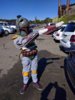
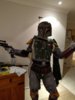
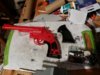
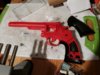
 it worked out great.


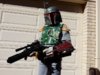


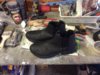
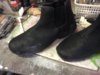

 ... also, i hadn't tried the whole kit on till getting dressed in the carpark and my spats were tight enough to keep the folds into my boot but an easy fix for next time.