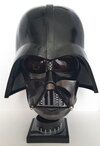
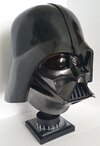
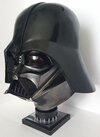
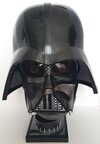
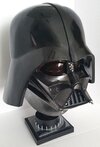
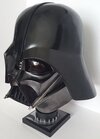
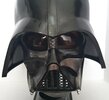
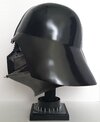
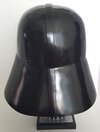
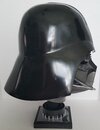
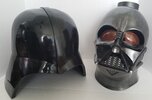
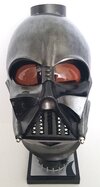
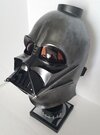
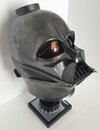
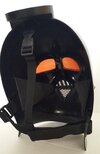
eFX PCR ANH Vader facelift

jhfagan

Active Hunter
I couldn't let it nag me anymore...
I had to......
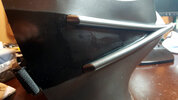
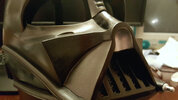
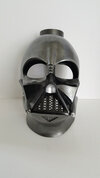
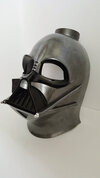
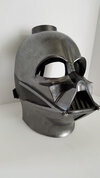
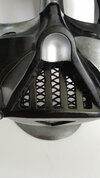
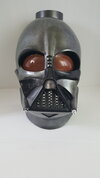
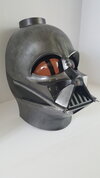
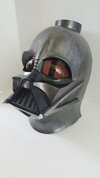
This is my converting/facelifting my eFX PCR ANH Vader, to as screen accurate ANH I can get it!
Like my successful eFX Fett ESB upgrade, I mulled over ruining the collectability of this piece, and eventually caved to having what I want, which is an accurate ANH Vader, without spending $2K.
There it is...

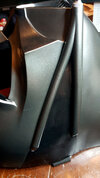
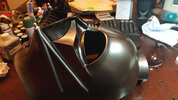
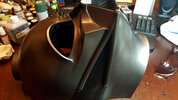
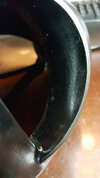
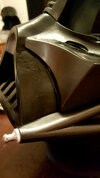
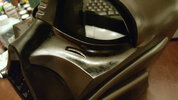
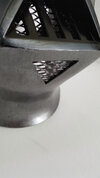
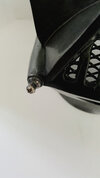
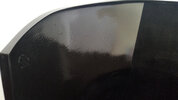
So, after having started with removing the lenses and cleaning the surface areas with a little diluted windex and some cotton pads , here are the beginning painting steps.
I am hand painting everything to purposely leave brush strokes, and texture, and imperfections.
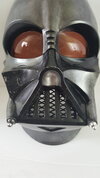
Starting with the black surfaces only, using Tamiya Semi Gloss Black acrylic.
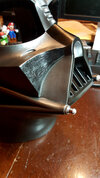
Letting it sit over night before doing some light damage work to the grill slots, around the nose and cheeks, and eventually, the infamous C scar! : )
All the gunmetal repaint will happen last.
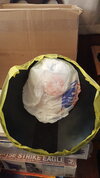
Then I'm off to the dome for some work.
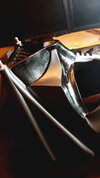
20210623_010041.jpg20210623_010117.jpg20210623_010357.jpg20210623_010446.jpg20210623_010608.jpg20210623_010636.jpg20210623_011013.jpg20210623_011131.jpg20210623_011150.jpg20210623_011238.jpg
 
Beautiful work man! I can feel my plastic lookin Vader EFx staring at me too… gonna need the same treatment. What colour did you use for the gun metal?
 
Beautiful work man! I can feel my plastic lookin Vader EFx staring at me too… gonna need the same treatment. What colour did you use for the gun metal?
Thanks!
I use Tamiya acrylic paints, exclusively.
So, I used their Semi Gloss Black, for all the blacks ( part # X-18) and their standard Gun Metal ( part # X-10 ).
All the scratches and dings/metal weathering, were done with Flat Aluminum ( part # XF-16 ).
I hand painted everything....no air brush or cans.
I briefly thought about just using the Gun Metal for the scratches/weathering, thinking those were just exposing the gun metal beneath the black surface kind of idea, but it just looked like...well...that.
Boring.
Flat Aluminum gave me a more metallic look w/o straying too far from the Gun Metal.
I almost went through a whole bottle of Gun Metal, as it must be very liberally applied. lol
Keep two on hand just in case your painting technique is REALLY heavy.
Acrylics tend to dry out quicker, so you have to kind of get on it and keep the paint damp while you're on it, using as many long, uninterrupted continuous brush strokes as you can, avoiding the "bleed through" if the paint dries out between application points.
Then you start getting those subtle bumps showing where the brush applications went down.
You can paint them out, but it's a pain.
I recently did a YT vid reviewing my finished helmet.
Thanks jhfagan! And thanks for the video link too. I’ll definitely be jumping on this project come winter time. Cheers man
 
Thanks jhfagan! And thanks for the video link too. I’ll definitely be jumping on this project come winter time. Cheers man
I forgot to add in my text, I finished the surface of the helmet with Tamiya's "Black Panel Line Accent Color" fluid, as a "black wash" over the helmet.
I would recommend checking for videos how to do black washing with stuff like that, if you don't already know how.
It's kind of tricky stuff, but an important finishing step.
I saw that tip in your video- definitely a very unique finish to the ANH dome as compared to empire or jedi. And the faux fibreglass work you did on the inner dome was great as well!
 
The black wash was also done sparingly on the face as well, just fyi.
And thx, on the faux fiberglass.
It was better than just leaving it plastic looking, no? lol
I'll definitely be interested to see your progress! : )
 
Thanks!
I use Tamiya acrylic paints, exclusively.
So, I used their Semi Gloss Black, for all the blacks ( part # X-18) and their standard Gun Metal ( part # X-10 ).
All the scratches and dings/metal weathering, were done with Flat Aluminum ( part # XF-16 ).
I hand painted everything....no air brush or cans.
I briefly thought about just using the Gun Metal for the scratches/weathering, thinking those were just exposing the gun metal beneath the black surface kind of idea, but it just looked like...well...that.
Boring.
Flat Aluminum gave me a more metallic look w/o straying too far from the Gun Metal.
I almost went through a whole bottle of Gun Metal, as it must be very liberally applied. lol
Keep two on hand just in case your painting technique is REALLY heavy.
Acrylics tend to dry out quicker, so you have to kind of get on it and keep the paint damp while you're on it, using as many long, uninterrupted continuous brush strokes as you can, avoiding the "bleed through" if the paint dries out between application points.
Then you start getting those subtle bumps showing where the brush applications went down.
You can paint them out, but it's a pain.
I recently did a YT vid reviewing my finished helmet.
What brush type/size did you use? I love how it looks!!
 
This thread is more than 42 days old.

Your message may be considered spam for the following reasons:

  1. This thread hasn't been active in some time. A new post in this thread might not contribute constructively to this discussion after so long.
If you wish to reply despite these issues, check the box below before replying.
Be aware that malicious compliance may result in more severe penalties.
Back
Top