jdrussell2
New Hunter
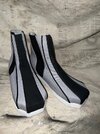
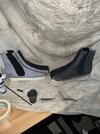
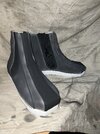
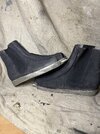
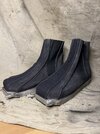
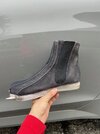
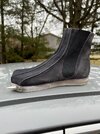
Hey there, everyone! I'm Joey. A new-ish guy here on TDH bringing you all along with me on my ESB build. I spent about a year or so researching and looking at others builds on this forum. I will be working from the ground up and showing you guys piece by piece what I did to get my look/style. I'm not going for 501st approval (as of right now) and more just a wandering Boba you'll see at Star Wars Celebration. As a tattoo artist and a lifetime practitioner of drawing, accuracy and detail rank the highest on my list and I'm shooting for that to reflect in my build. As we go along this journey together, feel free to add any feedback/advice/tips you may know of. I'm always floating around here looking for new tips and tricks you guys use to achieve the awesome Boba suits I've seen. Also, I will do my best to list all the supplies I used for each piece. So, now that I've got the thread started, I'll see you all in the next post which will be my boots!
Last edited:
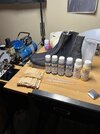
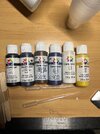
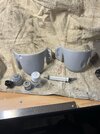
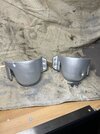
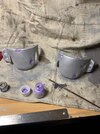
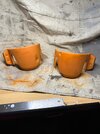
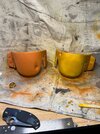
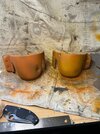
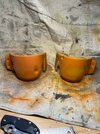
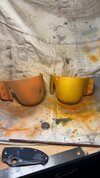
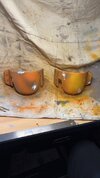
") Pipettes, disposable cups, and a gallon of distilled water to thin out the acrylic paint is the rest of what I used. Distilled water is a good cheap alternative to paint thinner since acrylic is water based.
Pipettes, disposable cups, and a gallon of distilled water to thin out the acrylic paint is the rest of what I used. Distilled water is a good cheap alternative to paint thinner since acrylic is water based.