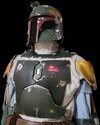
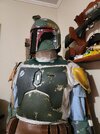
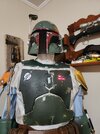
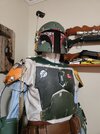
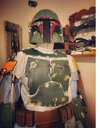
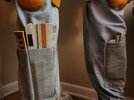
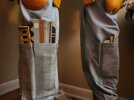
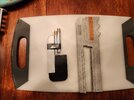
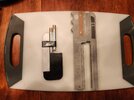
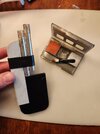
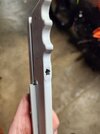
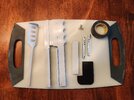
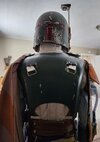
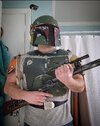
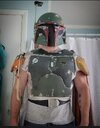
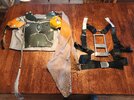
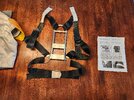
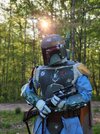
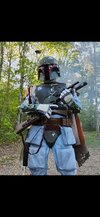
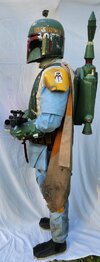
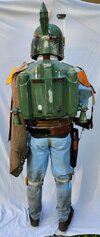
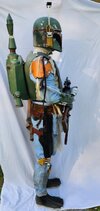
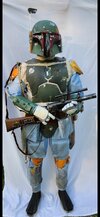
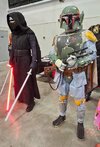
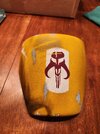
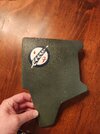
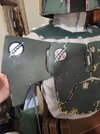
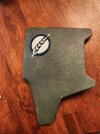
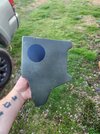
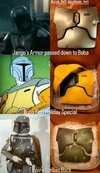
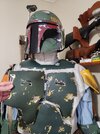
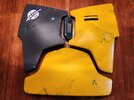
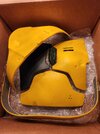
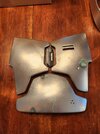
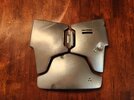
Went back and misted the shoulder after talking with Jurassic_Fett. Much better looking now. I've also been painting on my new Viva Fett armor with his critiques as well and it has been an awesome experience so far. I'm putting the finishing touches on the right breastplate tonight/this weekend, and just finished laying down the red paint stage on the Sigil using Jurassics stencils. So much better than my first attempt. These stencils are the best I have used. When working with rattle cans, stencils can get weird, but these have all been a proper peel with the appropriate cure times. My chest armor is night and day better. Still a little way to go but much better than my previous attempts. Huge thanks to Jurassic Fett for putting up with all my questions this far. Pretty excited to finish this project. I also made an armor progression compilation of pics to represent why I paint the entire armor yellow during the masking stages, and not just the spots around the damage where I know it is. My take anyway. Enjoy!
Attachments
-
 20230226_170619.jpg1.9 MB · Views: 83
 -
 20230301_200538.jpg1.3 MB · Views: 82
 -
 20230301_194620.jpg2.1 MB · Views: 80
 -
 20230228_193601.jpg1.5 MB · Views: 79
 -
 20230228_193246.jpg2.6 MB · Views: 73
 -
 20230228_064236.jpg1.7 MB · Views: 72
 -
 Screenshot_20230226_211810_Instagram.jpg450 KB · Views: 70
 -
 20230226_181909.jpg2.3 MB · Views: 77
 -
 20230226_142552.jpg1.4 MB · Views: 77
 -
 20230226_113806.jpg2.9 MB · Views: 66
 -
 20230225_161430.jpg1.5 MB · Views: 60
 -
 20230225_120633.jpg1.6 MB · Views: 61
 -
 20230224_182851.jpg3.6 MB · Views: 69