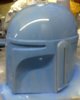
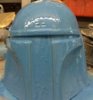
Well, the good news is that the cheap stuff bonded to the good stuff. The bad news is that, even though it took a little longer, it's all dribbled off to the bottom.
The mold is still tacky in places, but hey, you don't pay for good silicone, this is what you get! There's a tip for all you guys if you want to try this.
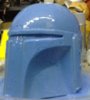
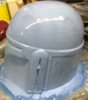
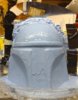
So today, I've tilted the model, so that the stuff won't run as quick and hope that will get me some sort of result.
On recommendation I have bought some silicone, booster and thickening agent from another shop, it's cheaper than the good stuff, but with the booster it should have a similar cure time.
")