ROTJ Special Edition Promo

Greg, some key notes with a promo shoot fett you will want to distinguish which one will you want to do. By mainly the gauntlets,missing shin tools, toe spikes and other minor features

This one has push button switches and is weathered differently

View attachment 168100 View attachment 168101

Or

View attachment 168102

Which has no toggle switches and has different weathering patterns on the gauntlets and jetpack.

Other key features From RoTJ SE

14 pouch belt
Off set colored pouches (one is off white and the other is beige)
All shin tools are present, though the sonic beam is not a Patterson squeege, it’s actually the visual dictionary weapon as shown. (Toolguy makes these now)
Half scope on the blaster
You’ll only have two hoses one from the rocket going under the backplate and one on the right gauntlet. Also, don’t forget the duct tape!!!
Eventually the braids will require a brown braid as it’s the ESB braids.

The CRL will be going under changes it’s just a matter of when. If you’re a member of the BHG, you can see some things in my posts that Jeremy has mentioned that will be changing. I personally did the 2nd set of promo shoot fett with all shin tools present.

My fett:
View attachment 168104
I like this Fett version too.
 
Thanks for your input. I’m leaning towards the first pic on Rafals last post that is the same as the last pic on your post. I have all the necessary switches to do any version of the gauntlets. I also already have the Patterson squeegee cut but haven’t finished it yet. Also Woodmen is making me SE braids now. Which should be done anytime.

Also I do see quite a few versions out of the SE that others have done and got approved.
Look at this thread. It was approved a bit ago. 3 hoses on one gauntlet.

General - ROTJ SE
 
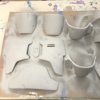
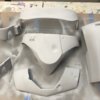
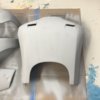
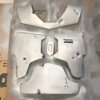
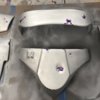
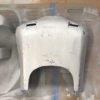
So I got all the armor trimmed and edges sanded. Also filled the dent on the right chest plate. Filled the dents on left knee and added the correct dent for ROTJ SE. I used a heat gun. I put a washer on the back side and then pushed into the center with the end of a sharpe. I took a couple times because the plastic cools fast. Going to look over reference pics and see if I need to modify any other areas before I lay down primer.

4CF878C2-CC33-48E1-A05A-B0420BC7B2D2.jpeg


AF55CCA7-FF66-4538-A422-FAF7FFC1993B.jpeg
 
Last edited:
Looking at reference photos I need to rework the 2 dents a little on the left chest plate and add 2 to the back armor top right side and bottom left side. Easy peasy to do.
 
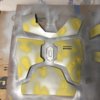
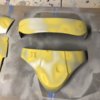
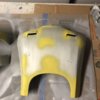
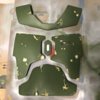
7E275E4E-6DFC-40B0-8D64-1CC874BC47B9.jpeg CC8E5755-C3B8-4DF6-8A63-513A4B46ACC3.jpeg D4734946-6481-4FEB-A443-18D4DB7615B3.jpeg F4946D9E-74F3-40DF-B29D-8DCA438477CD.jpeg F9E942E9-27F6-47BC-8089-B1D04FBAB19B.jpeg 75CE861B-7FA6-4DDC-AFA9-6AA6D4922F46.jpeg Ok got the silver damage masked off using the ROTJ stencils and with the AoSW reference pictures. Then I airbrushed Humbrol yellow 81 around the silver damage and in areas where there is only yellow. After the green is airbrushed I will go back over topically for all the finer details and some of the yellow as it was done topically for SE. As I can see in the AoSW pictures.
 
Last edited:
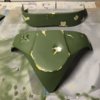
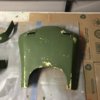
0364BF38-F745-402A-94DB-C505E75B317E.jpeg 4C6E6107-E48A-4DBC-8760-6427AFC52AA2.jpeg 8AF29668-14D1-4926-9964-9CE8F159EAC4.jpeg Got the green airbrushed on the armor. I used Model Masters Meduim Green. Next I will topically adjust and do fine details on the damage. Still lots of weathering to do. But making good progress.
 
This thread is more than 4 years old.

Your message may be considered spam for the following reasons:

  1. This thread hasn't been active in some time. A new post in this thread might not contribute constructively to this discussion after so long.
If you wish to reply despite these issues, check the box below before replying.
Be aware that malicious compliance may result in more severe penalties.
Back
Top