Aden Kyramud
Active Hunter
") good!!! pictures!!!good!!! pictures!!!
good!!! pictures!!!good!!! pictures!!!Your work is AMAZING SAZ, I really love the 'buggered up' bucket you let me buy. When you get your 'finished' bucket, I will definately get one.
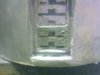
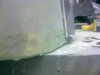
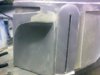
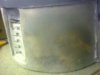
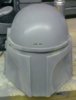
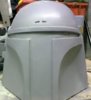
This bucket is nice and thin, but very sturdy. My first bucket is THICK and HEAVY, the second one I am working on is thinner, but I need to reinforce it at key points.
I am quite happy with your's. Thank you for the XLNT quality on your first bucket.
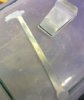
have you got an ear cap, stalk and RF? I'd love to get a set from ya so I can put 'em on the killer bucket you sent me
so i had a similar experience to you about the silicone not staying in shape even in the jacket. the reason was that the rubber was too thin by a lot.
on all of my various molds, you can't see any details of the helmet anymore, the silicone is so thick. probably about 1/4" all over, with some spots thicker still.
i wasted a lot of silicone learning that lesson
the thickener helps a ton too. i do 2 coats of liquid, then from there on i put enough thickener in that it's like peanut butter. i usually do 2 coats of peanut butter, paying special attention to edges. then 1 more coat of liquid to smooth it out... this prevents the jacket from binding up in it.
Ear cap master is done as is one end of the RF, the stalk I am currently working on, I do intend to sell the final version with everything needed and not just the bucket on its own, though if people want to do their own RF I can leave it off for a bit less probably
Conventrating on the bucket at the moment.